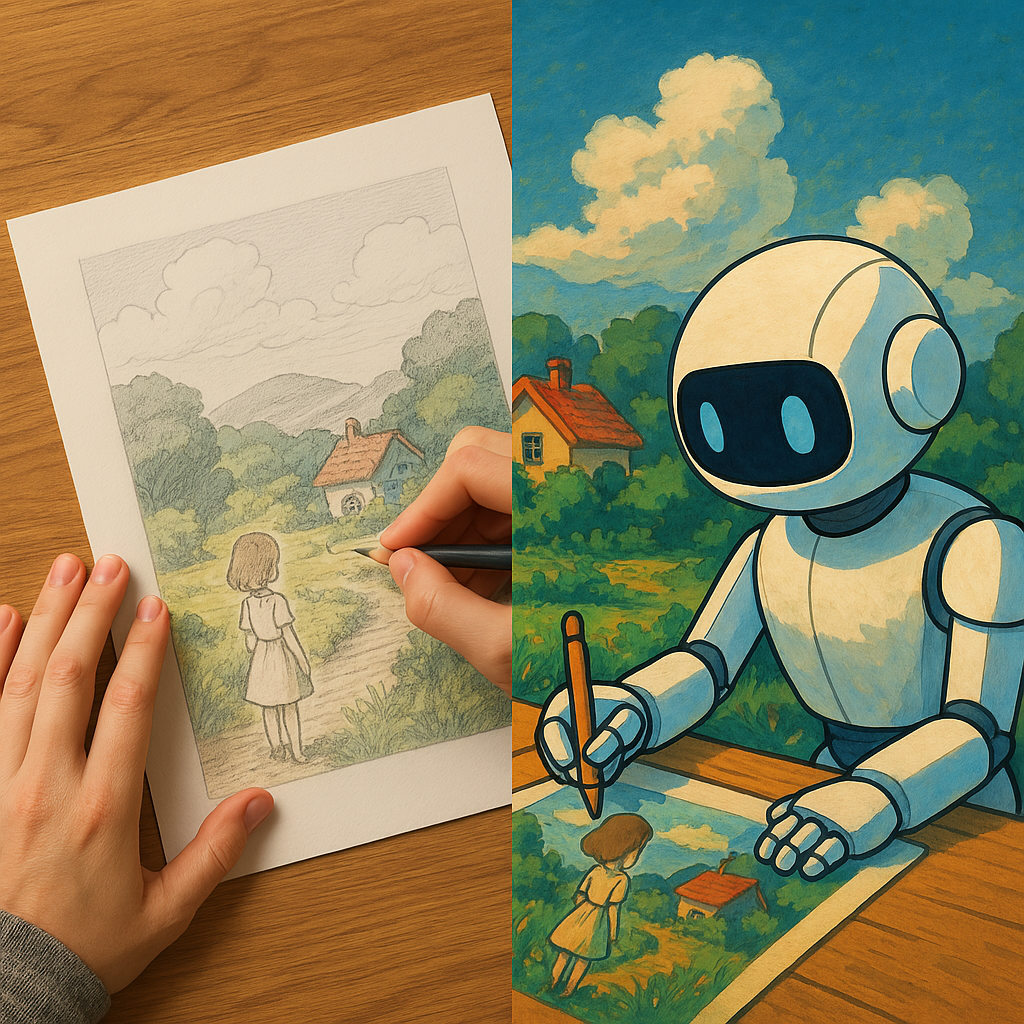
Transforming a real-world photo into a Studio Ghibli-style image involves multiple steps, combining artistic principles with machine learning techniques. Below is a precise step-by-step approach, considering an ML engineer’s perspective.
Step 1: Image Preprocessing
Goal: Prepare the input image for stylization.
Resize and Denoise:
Resize the image to a resolution suited for neural style transfer (e.g., 512×512 or 1024×1024).
Apply Gaussian blur or a bilateral filter to remove high-frequency noise while preserving edges.
Example:
cv2.GaussianBlur(image, (5, 5), 0)
Edge Detection (Contour Extraction):
Extract major edges using Canny edge detection or HED (Holistically-Nested Edge Detection).
Helps define outlines as seen in Ghibli backgrounds.
Example:
cv2.Canny(image, threshold1, threshold2)
Segmentation (Color Clustering):
Use K-means clustering or SLIC (Superpixel segmentation) to separate major color regions.
Reduce photorealistic detail while keeping object boundaries clear.
Example:
sklearn.cluster.KMeans(n_clusters=8).fit(image)
Step 2: Color Mapping to Ghibli Palette
Goal: Adjust colors to match Studio Ghibli’s warm and pastel aesthetics.
Extract Target Color Palette:
Use existing Ghibli scenes from films like My Neighbor Totoro or Spirited Away as references.
Extract dominant colors using K-means clustering or a pre-trained GAN-based color transfer model.
Example:
dominant_colors = ColorThief(image).get_palette(color_count=10)
Apply Color Transfer:
Use techniques like Histogram Matching or Neural Color Transfer.
Example: Reinhard color transfer (used in style transfer pipelines).
skimage.exposure.match_histograms(input_image, reference_image)
Step 3: Linework Enhancement
Goal: Create the signature clean but expressive linework.
Convert to Line Art:
Use XDoG (eXtended Difference of Gaussians) to generate soft, painterly edges.
Example:
XDoG = G(image) - α * G(image, σ)
Refinement with CNN-based Line Extraction:
Pre-trained deep learning models like DeepEdge or AnimeGANv2 can extract high-quality anime-like outlines.
Step 4: Texture and Brush Stroke Simulation
Goal: Add painterly textures characteristic of Ghibli’s hand-painted backgrounds.
Apply Soft Shading & Blending:
Use Bilateral Filters to smooth colors while retaining structure.
Example:
cv2.bilateralFilter(image, d, sigmaColor, sigmaSpace)
Simulate Brush Strokes:
Apply GAN-based texture synthesis (e.g., using Deep Image Prior) to mimic the hand-drawn feel.
Example: Train a CycleGAN model with real Ghibli backgrounds as style reference.
Step 5: Final Composition & Post-processing
Goal: Ensure coherence and aesthetic consistency.
Depth and Atmospheric Perspective:
Apply Depth Estimation models (e.g., MiDaS) to simulate depth-based color fading.
Lighten and desaturate distant objects for a Ghibli-style background effect.
Hand-Painted Final Touches (AI-Assisted or Manual Refinements):
Introduce subtle gradients and color overlays using Neural Style Transfer.
Example ML Pipelines for Automation
Style Transfer Models: AnimeGANv2, Fast Neural Style Transfer (NST)
Line Extraction: DeepEdge, HED, XDoG
Color Matching: Reinhard Transfer, GAN-based color adaptation
Texture Simulation: CycleGAN for anime-like painterly textures
This workflow balances ML automation with artistic refinements to create a Ghibli-style image from a real-world photo. Let me know if you need a hands-on implementation guide!

